WELCOME TO

Visit our home page

virtual design for your home

the visuals

FOLLOW US

Friday
May272011

New look for an old table

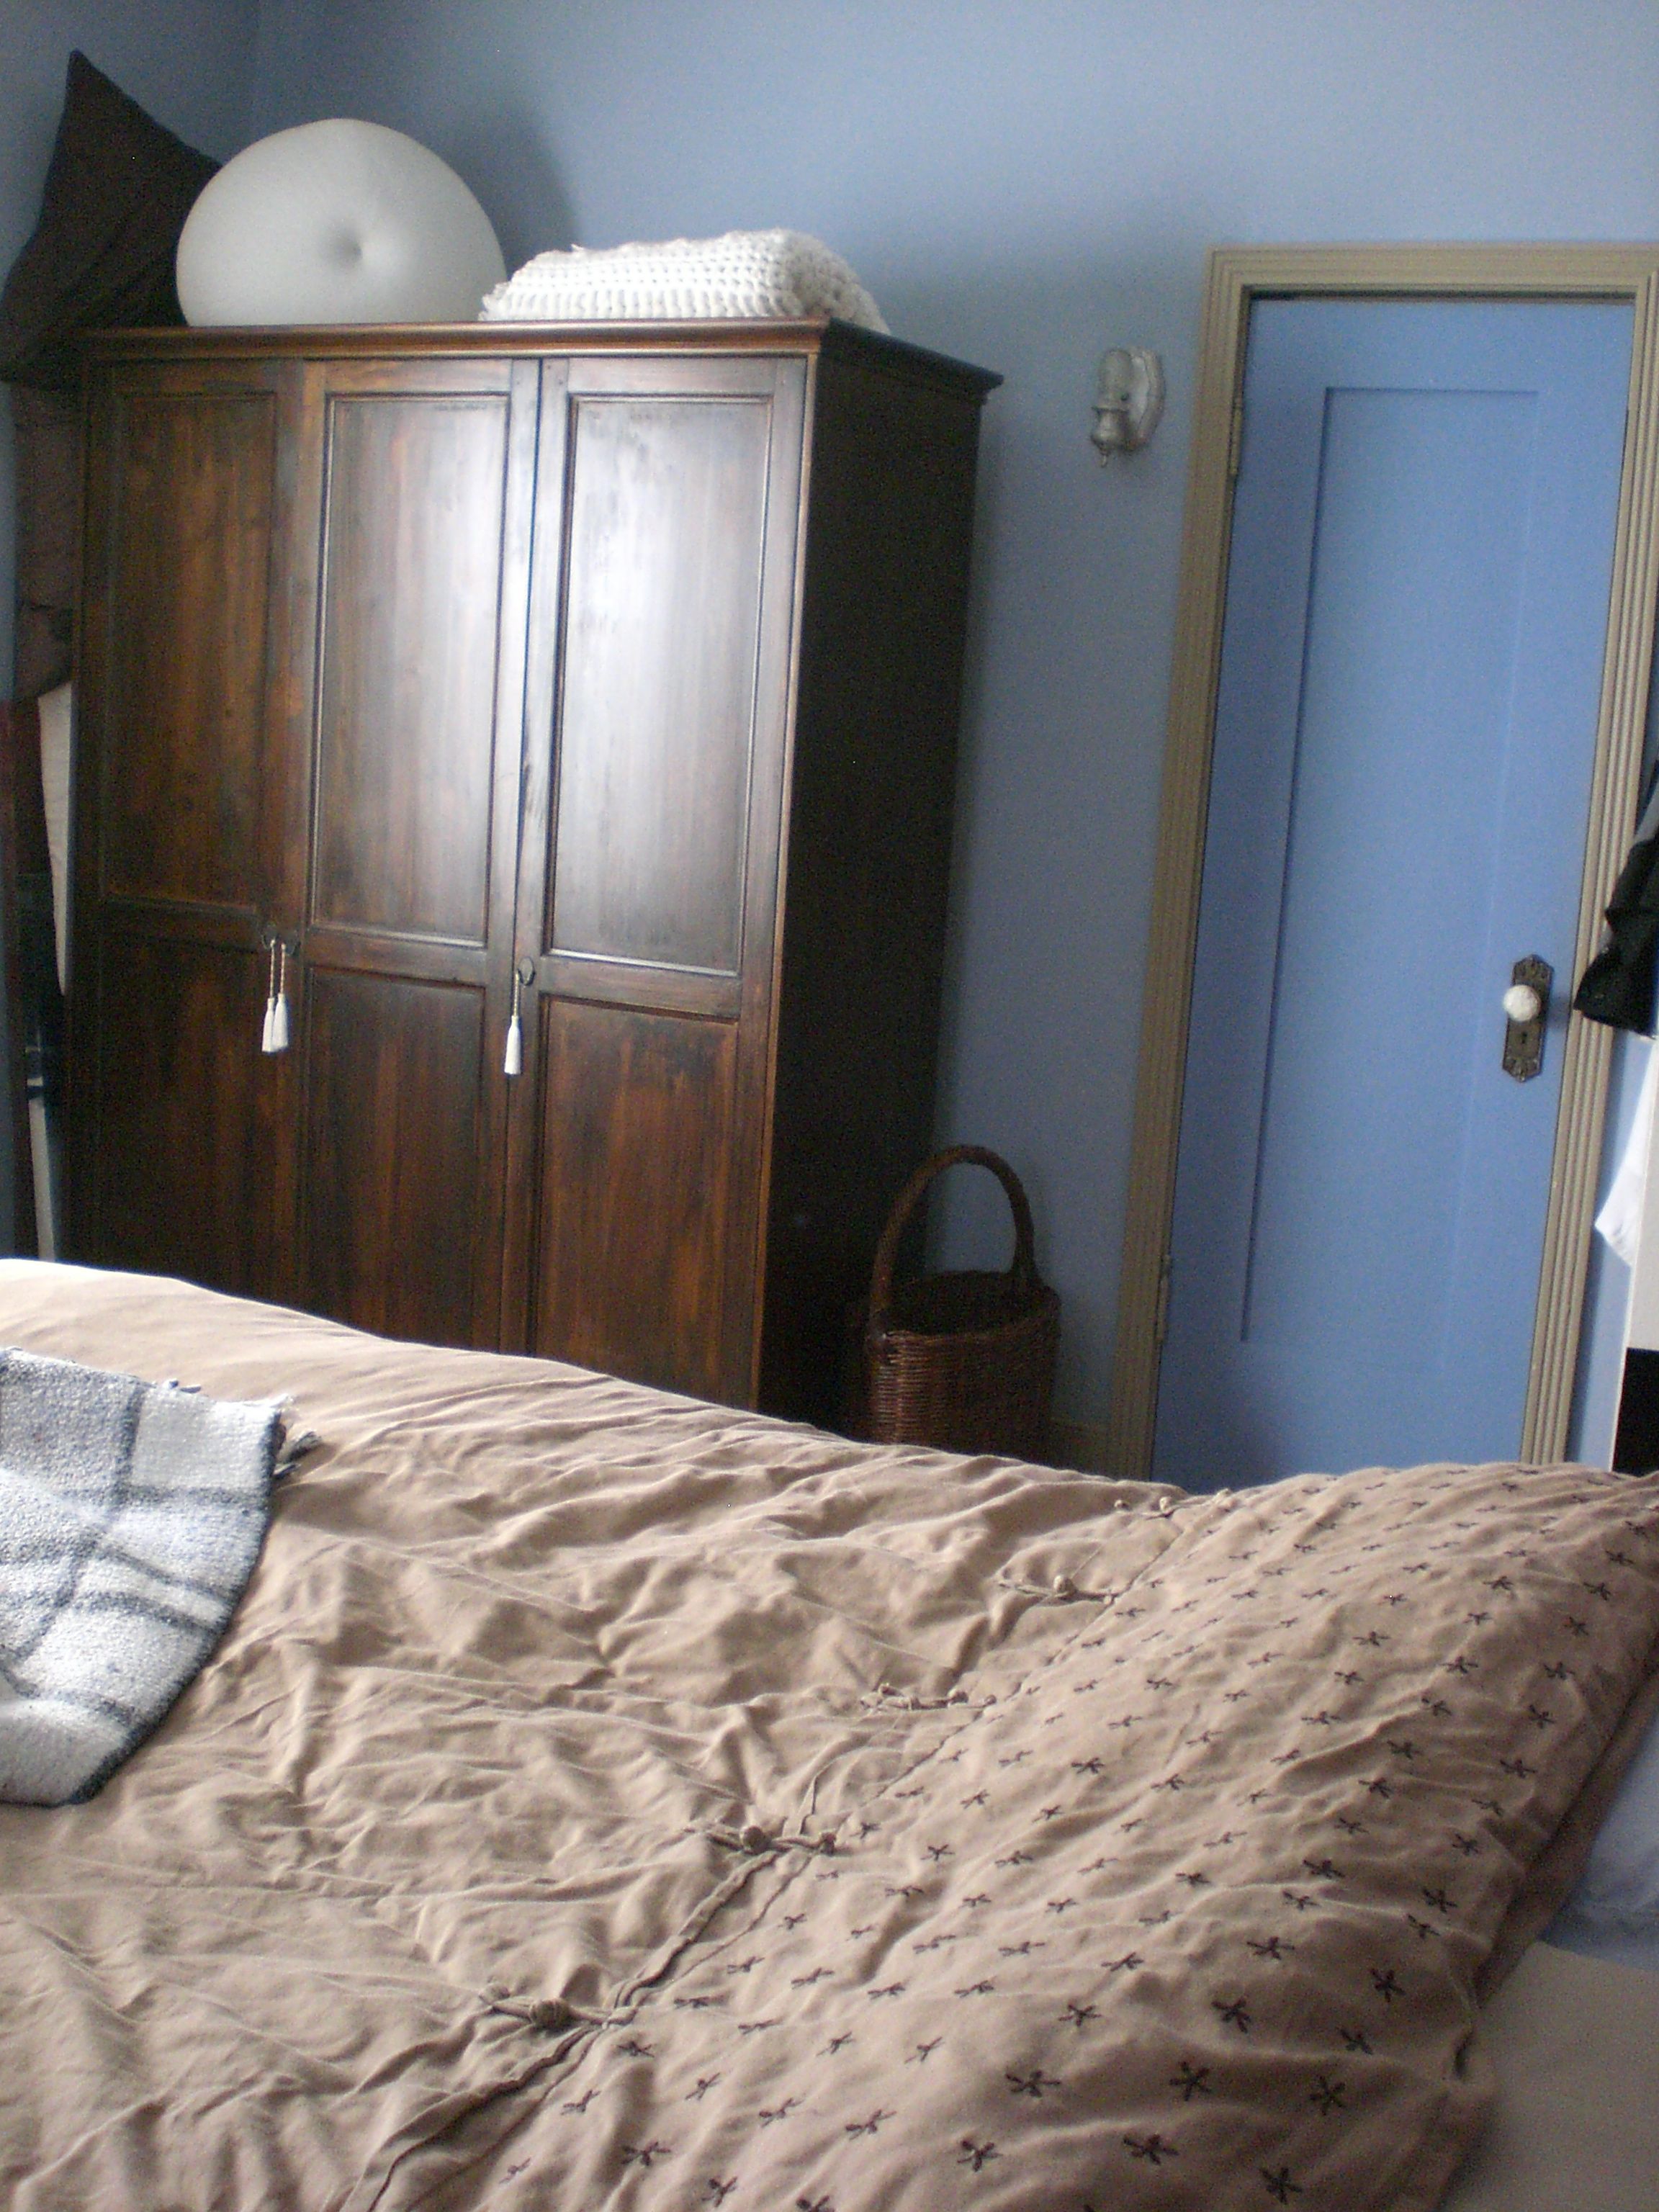
I’ll be honest with you, when I saw this piece it wasn’t my favorite piece of furniture. However, in keeping within the constraints of a budget make-over, I thought that this piece had potential if given the right love.

First, I took off the bottom skirt and legs by removing the screws holding them on and gave the piece a quick sanding to scuff up the surface and reduce the harshness of the gouges that had been routered into the wood surfaces.


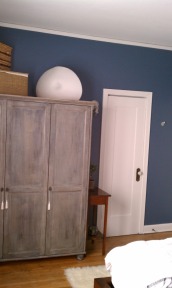
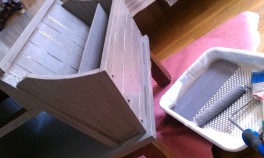
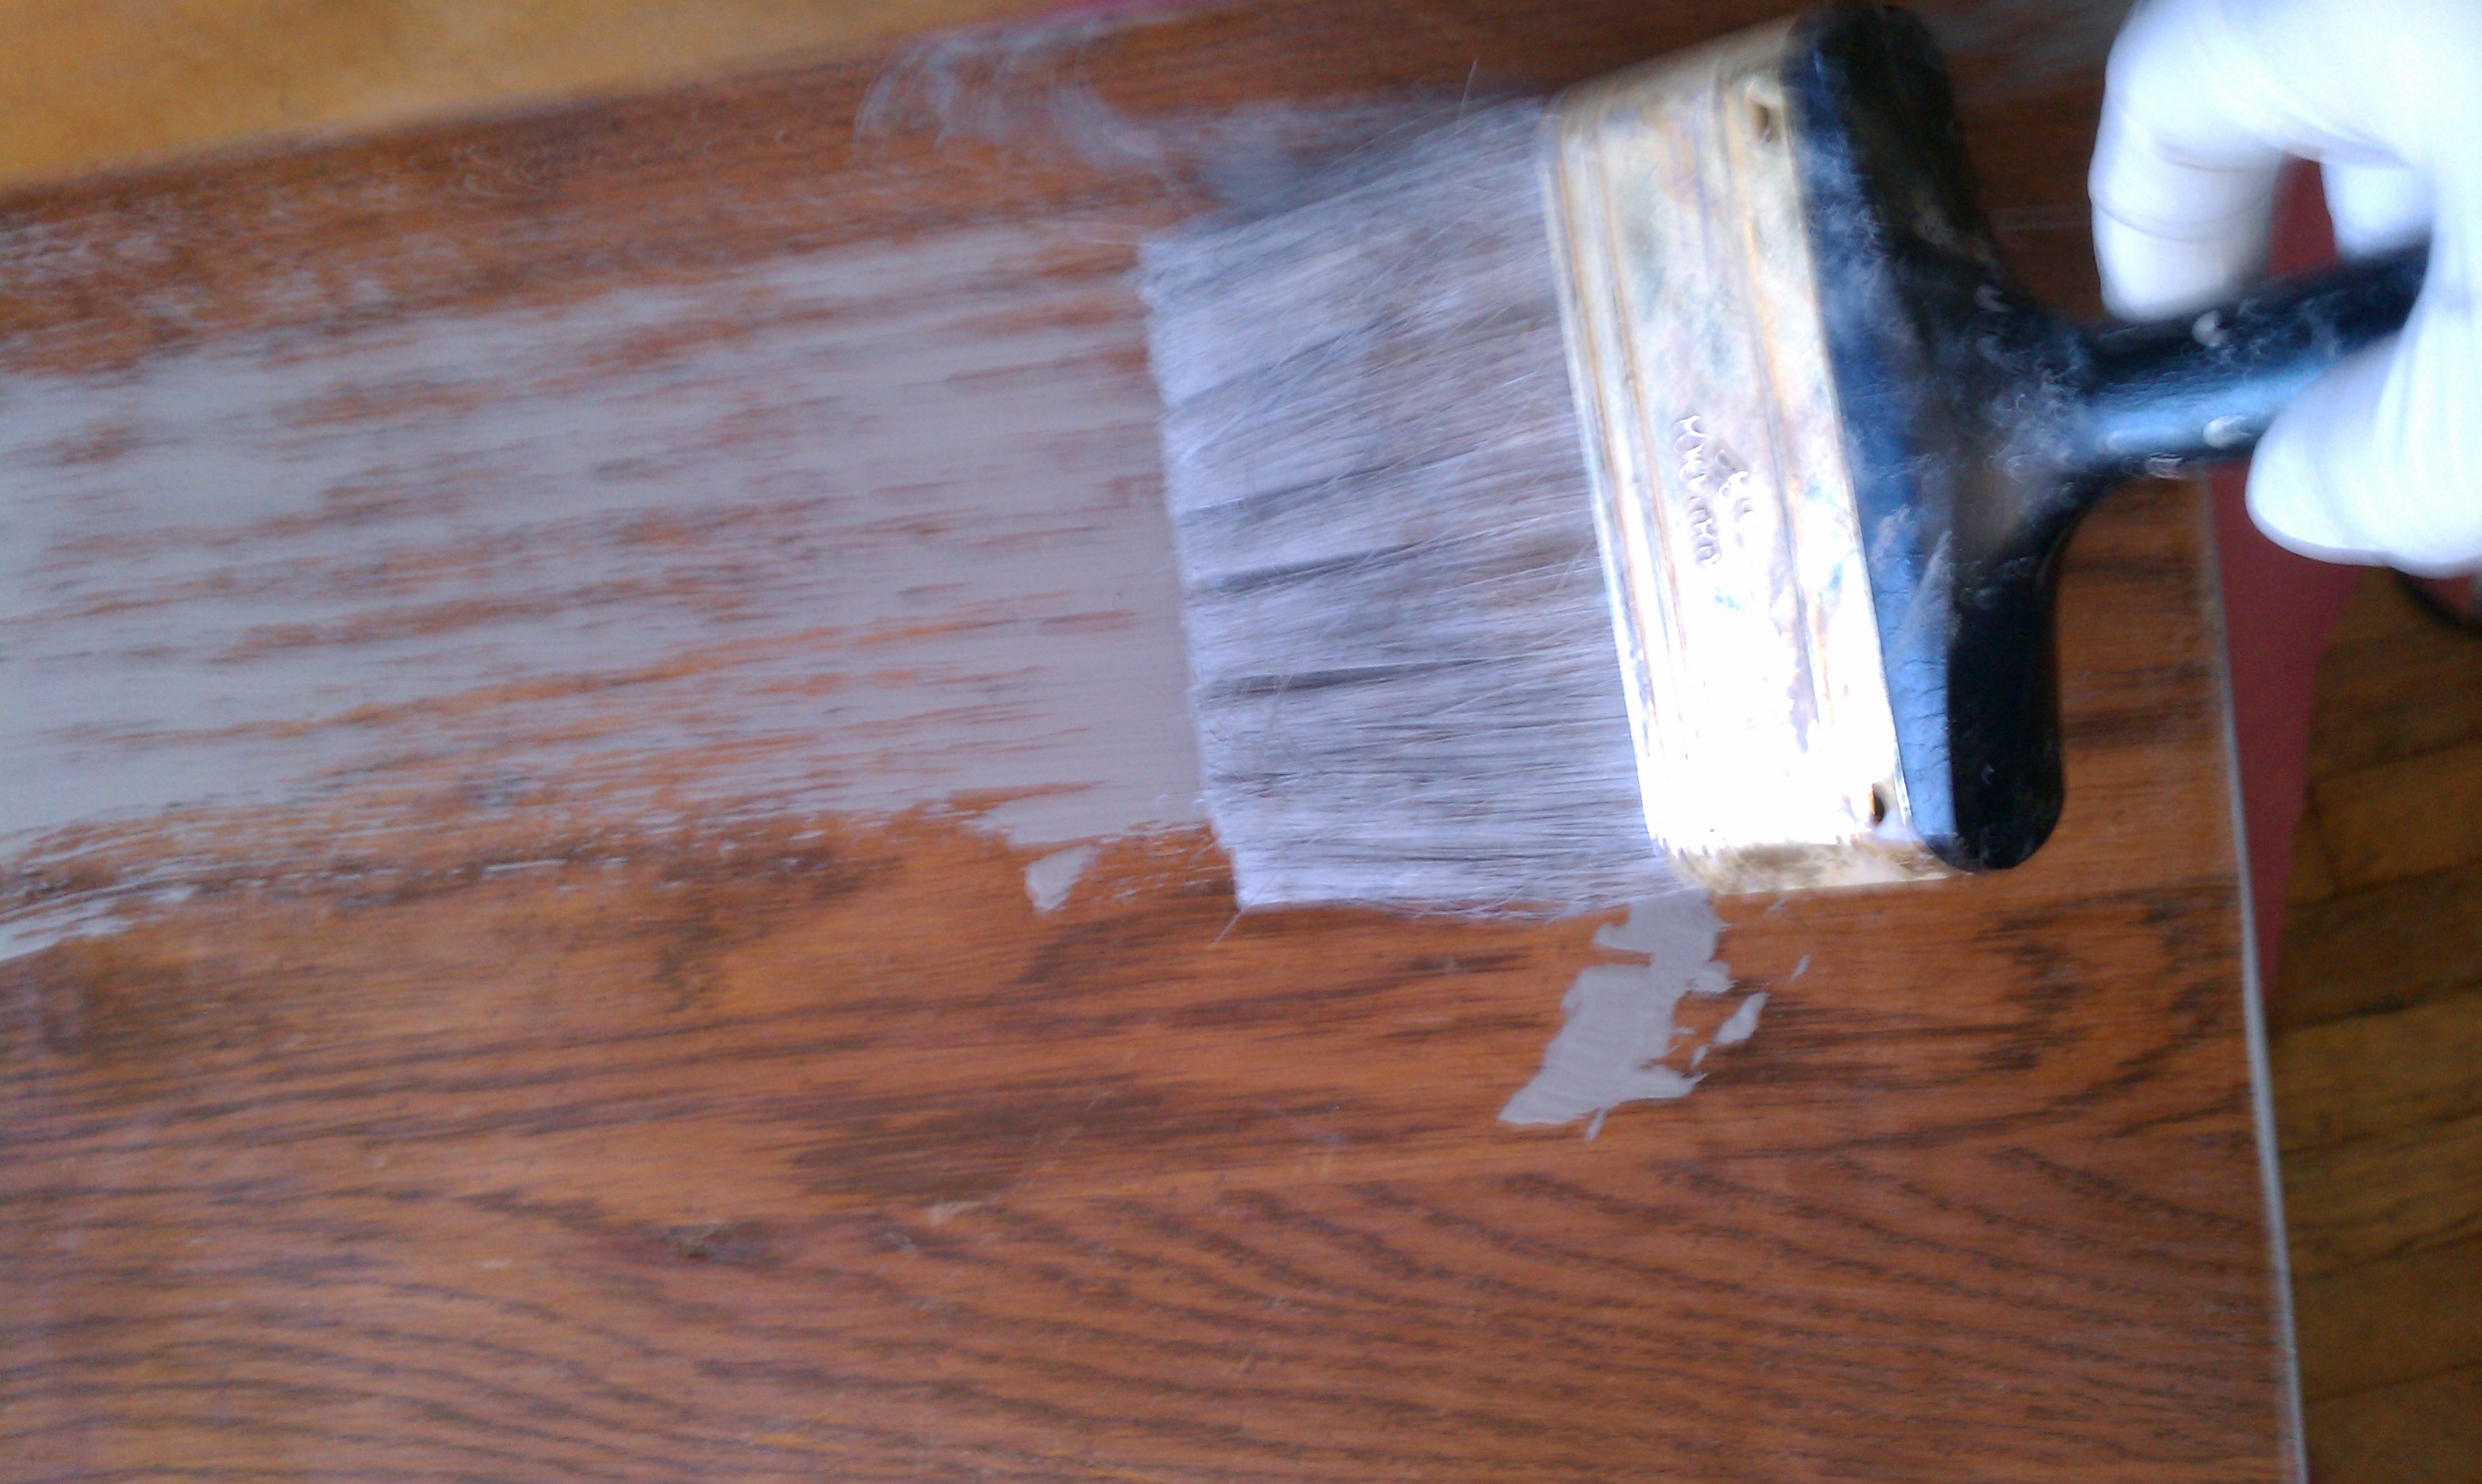
Next, came a coat of new paint. The light, taupe-y grey was mixed with glaze medium. This helps allow for variation in tone and coverage to give the weathered, driftwood look I wanted. The paint was dry-brushed on the entire surface, again to allow streaks of dark to bleed through from the original wood color and create a wood grain look. Tip: Work in small areas to allow time to layer and feather the brush marks before the paint dries.


Once the base coat was dry, the entire table was coated with a satin Polyurethane tinted with a little Raw Umber and Black Universal tint to give a warmer, sandy overcoat to the table. TIP: Universal tint is available at paint stores in loads of colors. It’s pure pigment which is used to modify or create a paint color. My best tip is to mix in tint slowly until you reach the color you want. Another tip: paint dries darker (and in the case of reds, less pink) so stop before you reach your desired color and paint a test patch to see what the paint looks like when it dries.

After the poly coat was dry I lightly sanded areas to age the surface and added industrial wheels to the base.

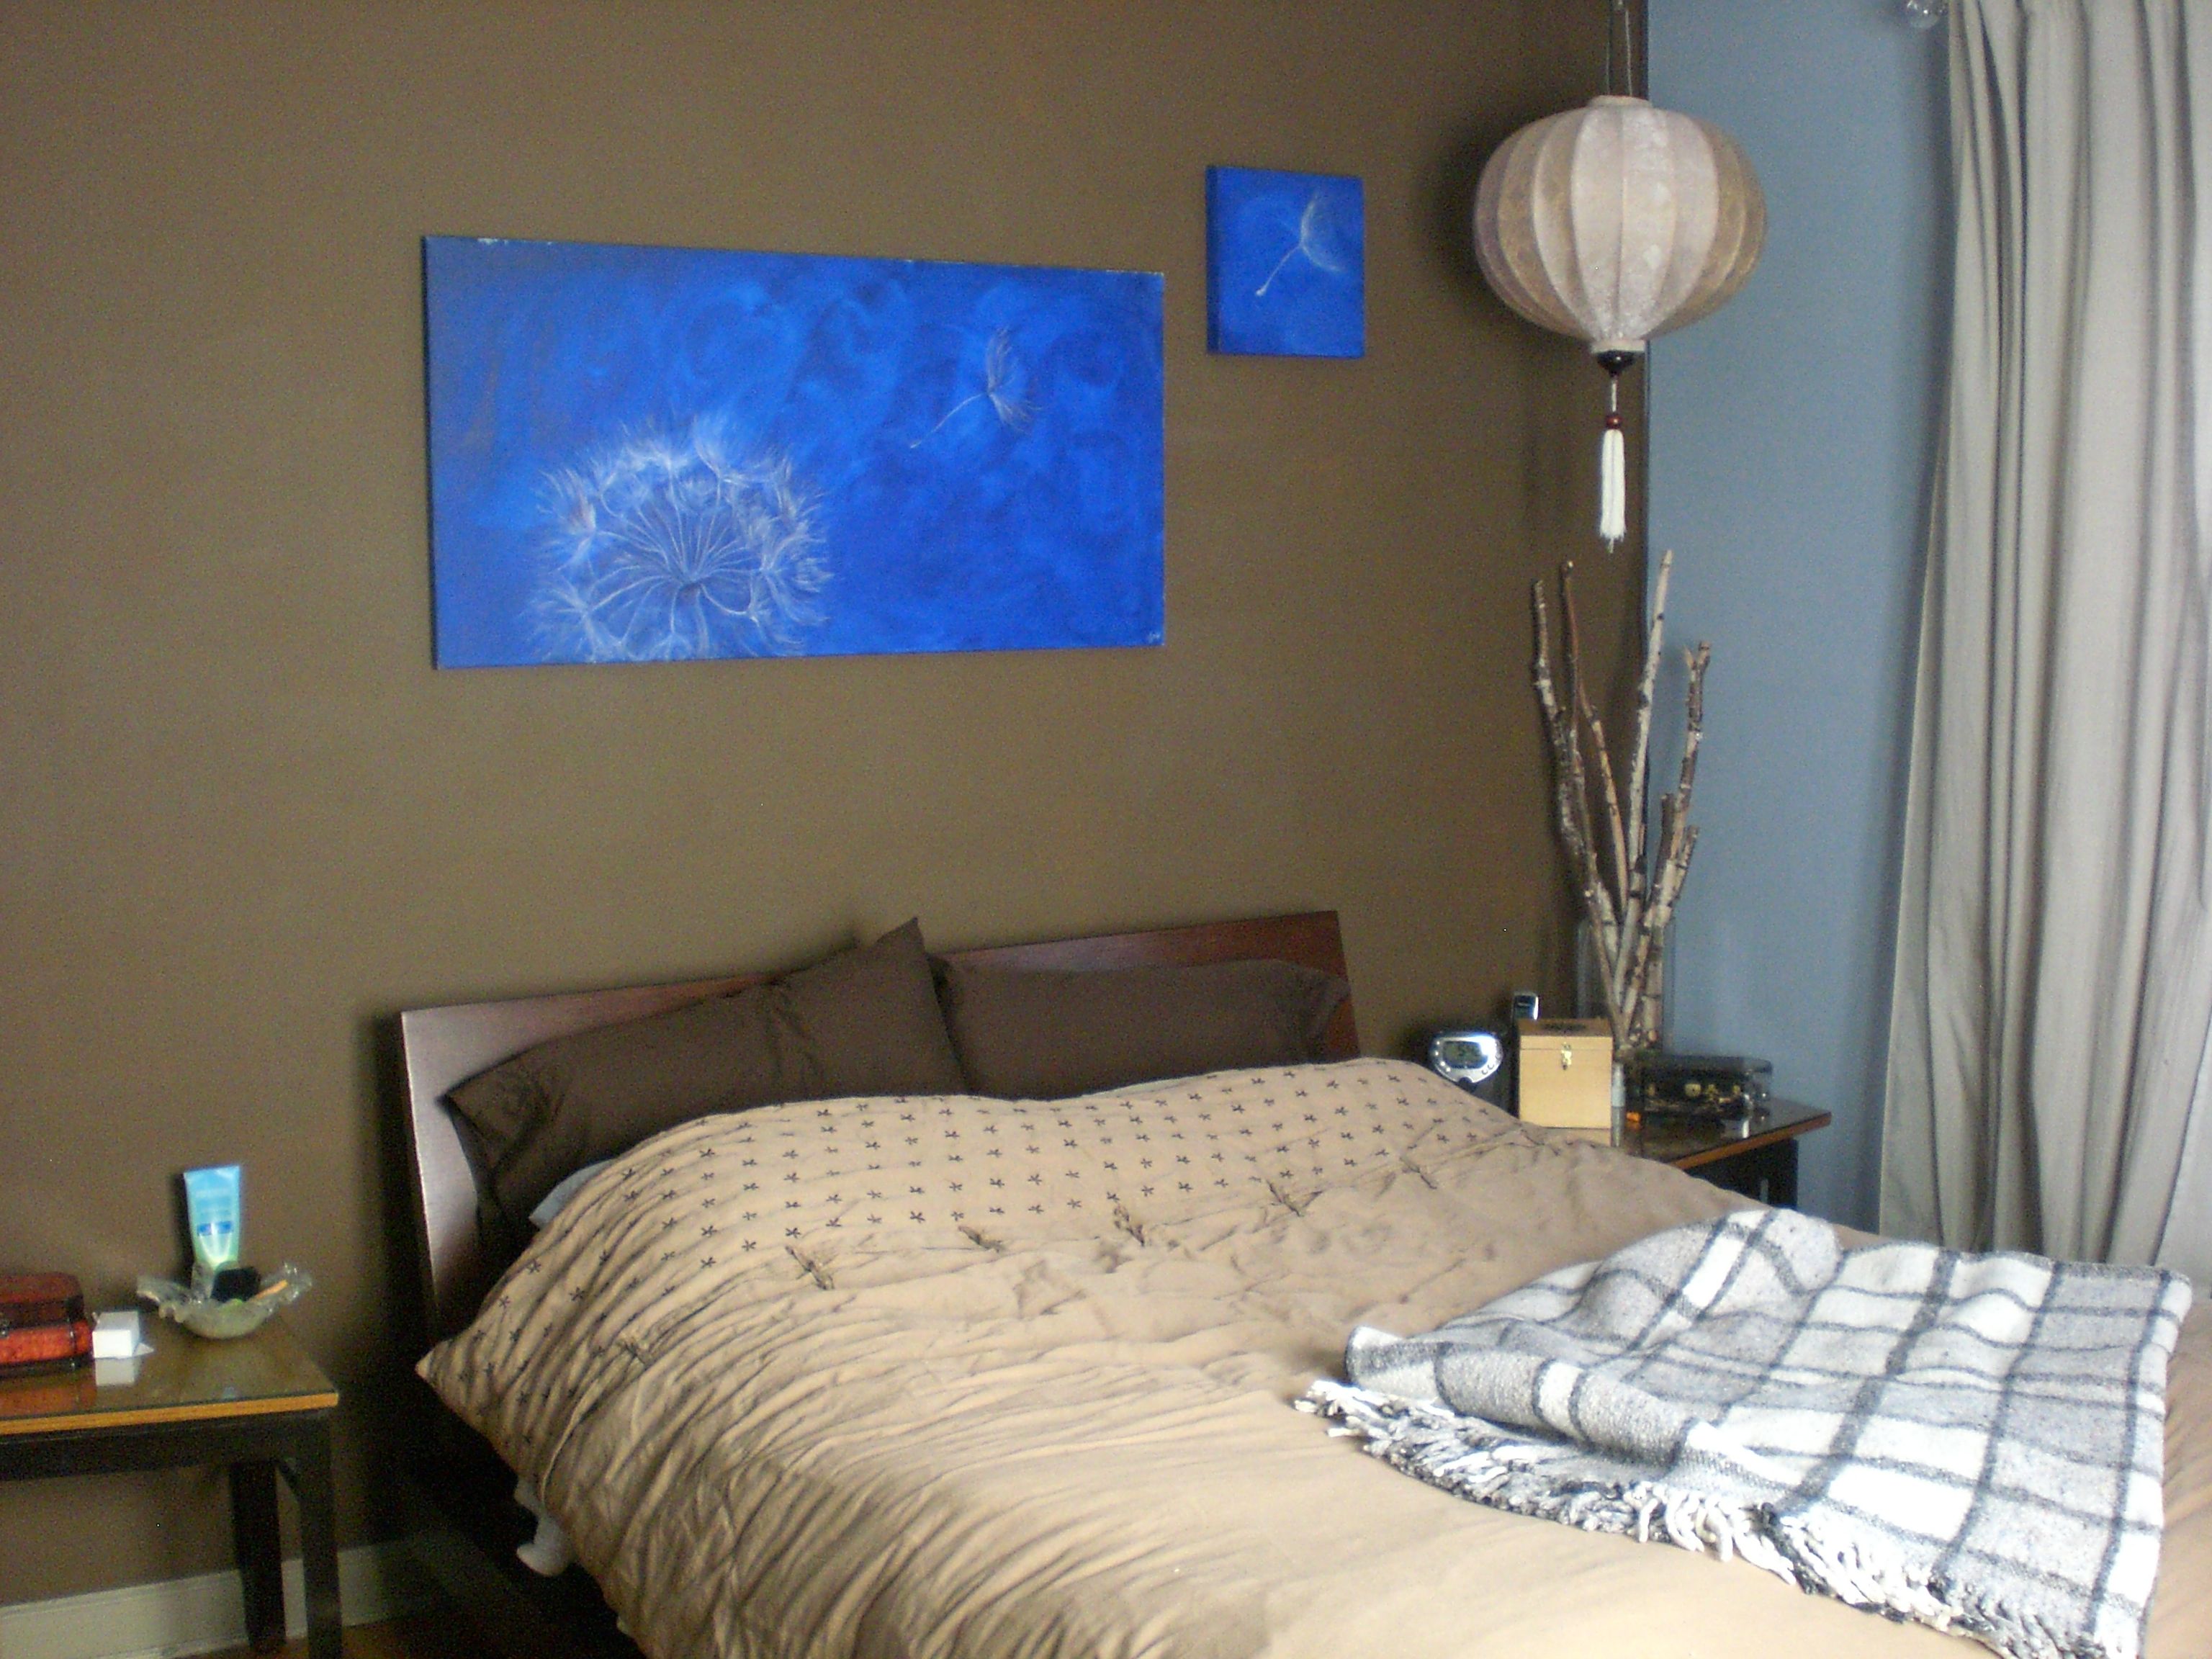
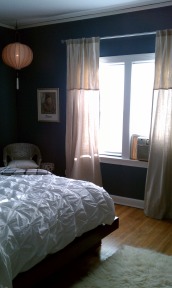
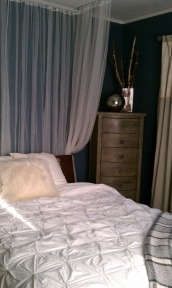
Now I love this piece and it fits in perfectly with the room.

Monday
May162011

Bedroom - from Blah to Beautiful on a budget

The challenge in this space was three-fold. We needed to keep all the wood furniture for desperately needed closet and storage space, had limited opportunity to change position of the furniture due to minimal open wall space and make it all beautiful on a tight budget.

The inspiration for the room was a central California coast June day - all socked in with marine layer and peaceful. A dark, stormy blue was chosen for the walls and a piece of driftwood for the look of the furniture. Soft whites and taupes bring in the clouds and sand with just a bit of sparkle here and there like the glint of sun off the ocean.

Tricks were used to repurpose old furniture and curtains to give them new life and bring the look together.

Over the next few weeks we'll break out the individual projects, and how we did them.

But, for now, check out the BEFORE and AFTER pics.

Before...

AFTER

Monday
Mar212011

Elemental Favorites - Cambands!

  What's a girl to do when those whispy bangs won't stay out of her eyes or a bad hair day has taken hold? Pull back that hair in beautiful and fun Cambands!

Busy mom, wife, career woman Jenny Stallworth makes these wonderful fabric headbands in her spare time and sells them through her Etsy shop.

I know what you're thinking..."hairbands won't stay in place and fall off." I'm like you and have tried so-called "no-slip" headband after headband, and they all slipped. Not these! I have personally tested two bands, a thick and thin, and they have stayed put - even through a few gym workouts!

They're comfy and come in all kinds of colors and styles. Better yet, they're uber affordable.

Check out the Cambands website and choose one (or two or three) for yourself. You'll have great hair and support the arts. It's a win win.

Camband Etsy website:

http://www.etsy.com/shop/cambands?ref=pr_shop_more

Monday
Mar072011

off the drawer hooks

Who says that hooks have to be practical to be useful? And who says you need to use proper hooks to hang your stuff?

By using imaginative, fun or beautiful knobs instead of plain old hooks, you can add character to a room that won't hurt your pocketbook. Use several to create wall art or a few.

These drawer pulls were purchased at Anthropologie. Instead of using them on a drawer, I used them on a wall to hang jewelry in a glammed up, girlie, black and pink bathroom.These already had a threaded stem attached, but what if the knob you want doesn't? Hardware supply stores offer screws that are threaded on both ends. Simply twist one end into the knob until it's tight and then twist the knob and screw into your pre-drilled hole in your wall. If you want to hang heavy objects, be sure to use a wall anchor.

There are tons of great drawer pulls out there. I've seen airplanes (so cute for a kid's room!), chrystals, flowers, painted porcelain, clean metals - you name it. Another option for heavier items is using door knobs. Same principle but bigger. One of my favorite places to get antique door knobs is out here in Los Angeles at Liz's Antique Hardware on La Brea Ave. They will even cut a post to fit the knob you choose for easy wall mounting. Be sure to check out the "scratch and dent" section for amazing bargins.

Hooks, definitely do NOT need to be boring.


click here to check out Liz's http://www.lahardware.com/newsite/


Sunday
Feb132011

Painting a concrete floor

We gave an old concrete patio new life with beautiful Caribbean Blue paint in this Myles of Style make-over.

One place that I love to use paint is on an outdoor space. Painting or staining a boring concrete slab can create a focal point, add color, create distinctive areas within a larger space, hide or minimize patches and plain old have some fun. AND you can change it without breaking the bank.

Preparation is key in painting or staining concrete - especially, outside. First, you'll want to patch any holes or large cracks. Home improvement stores carry ready mixed fillers, like Dap Ready-Mixed Concrete Patch. Follow the instructions and be sure to wear grubby clothes and save yourself a lot of time and effort by using plastic disposable putty knives. 

One of the keys to making any kind of treatment last is starting with a clean surface. This is when you want to break out the scrub brush and the power washer. TSP (trisodium phosphate) is a great cleaning agent to help remove stains.

Once the area is prepped you can tape off a design or paint the whole area. Use your creativity and have fun. You can always change it whenever you want! Some brands of concrete paint can be tinted to your preferred color or choose from pre-mixed colors. Use complimenting colors to create borders and designs - creating a painted area rug.

After you've painted be sure to coat the area with a sealer to protect your new floor.